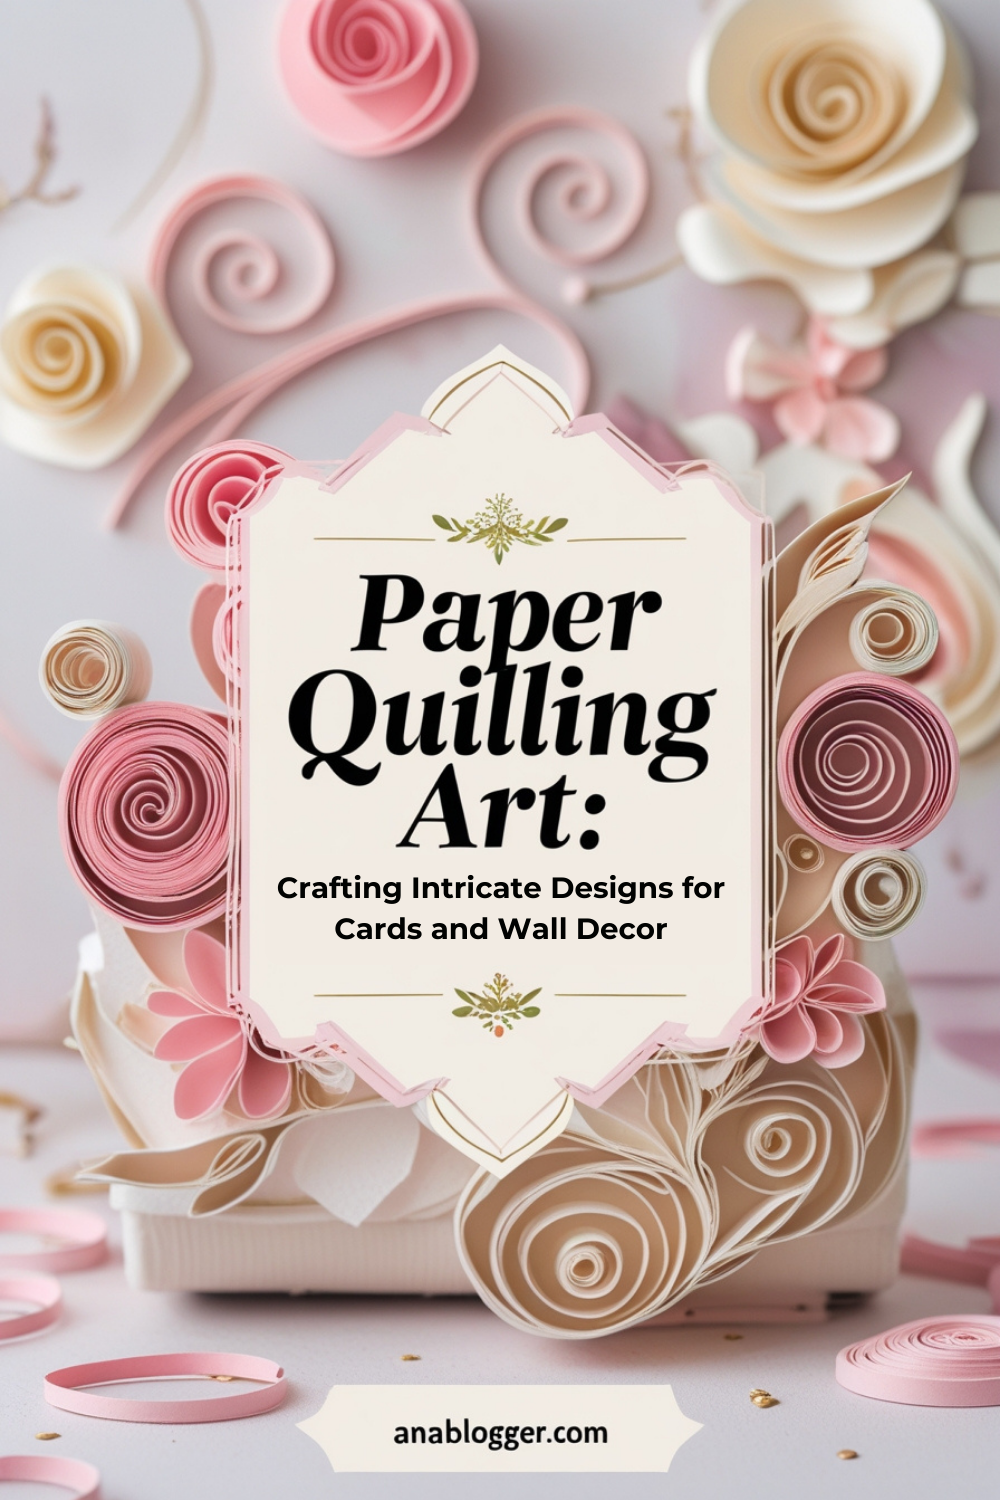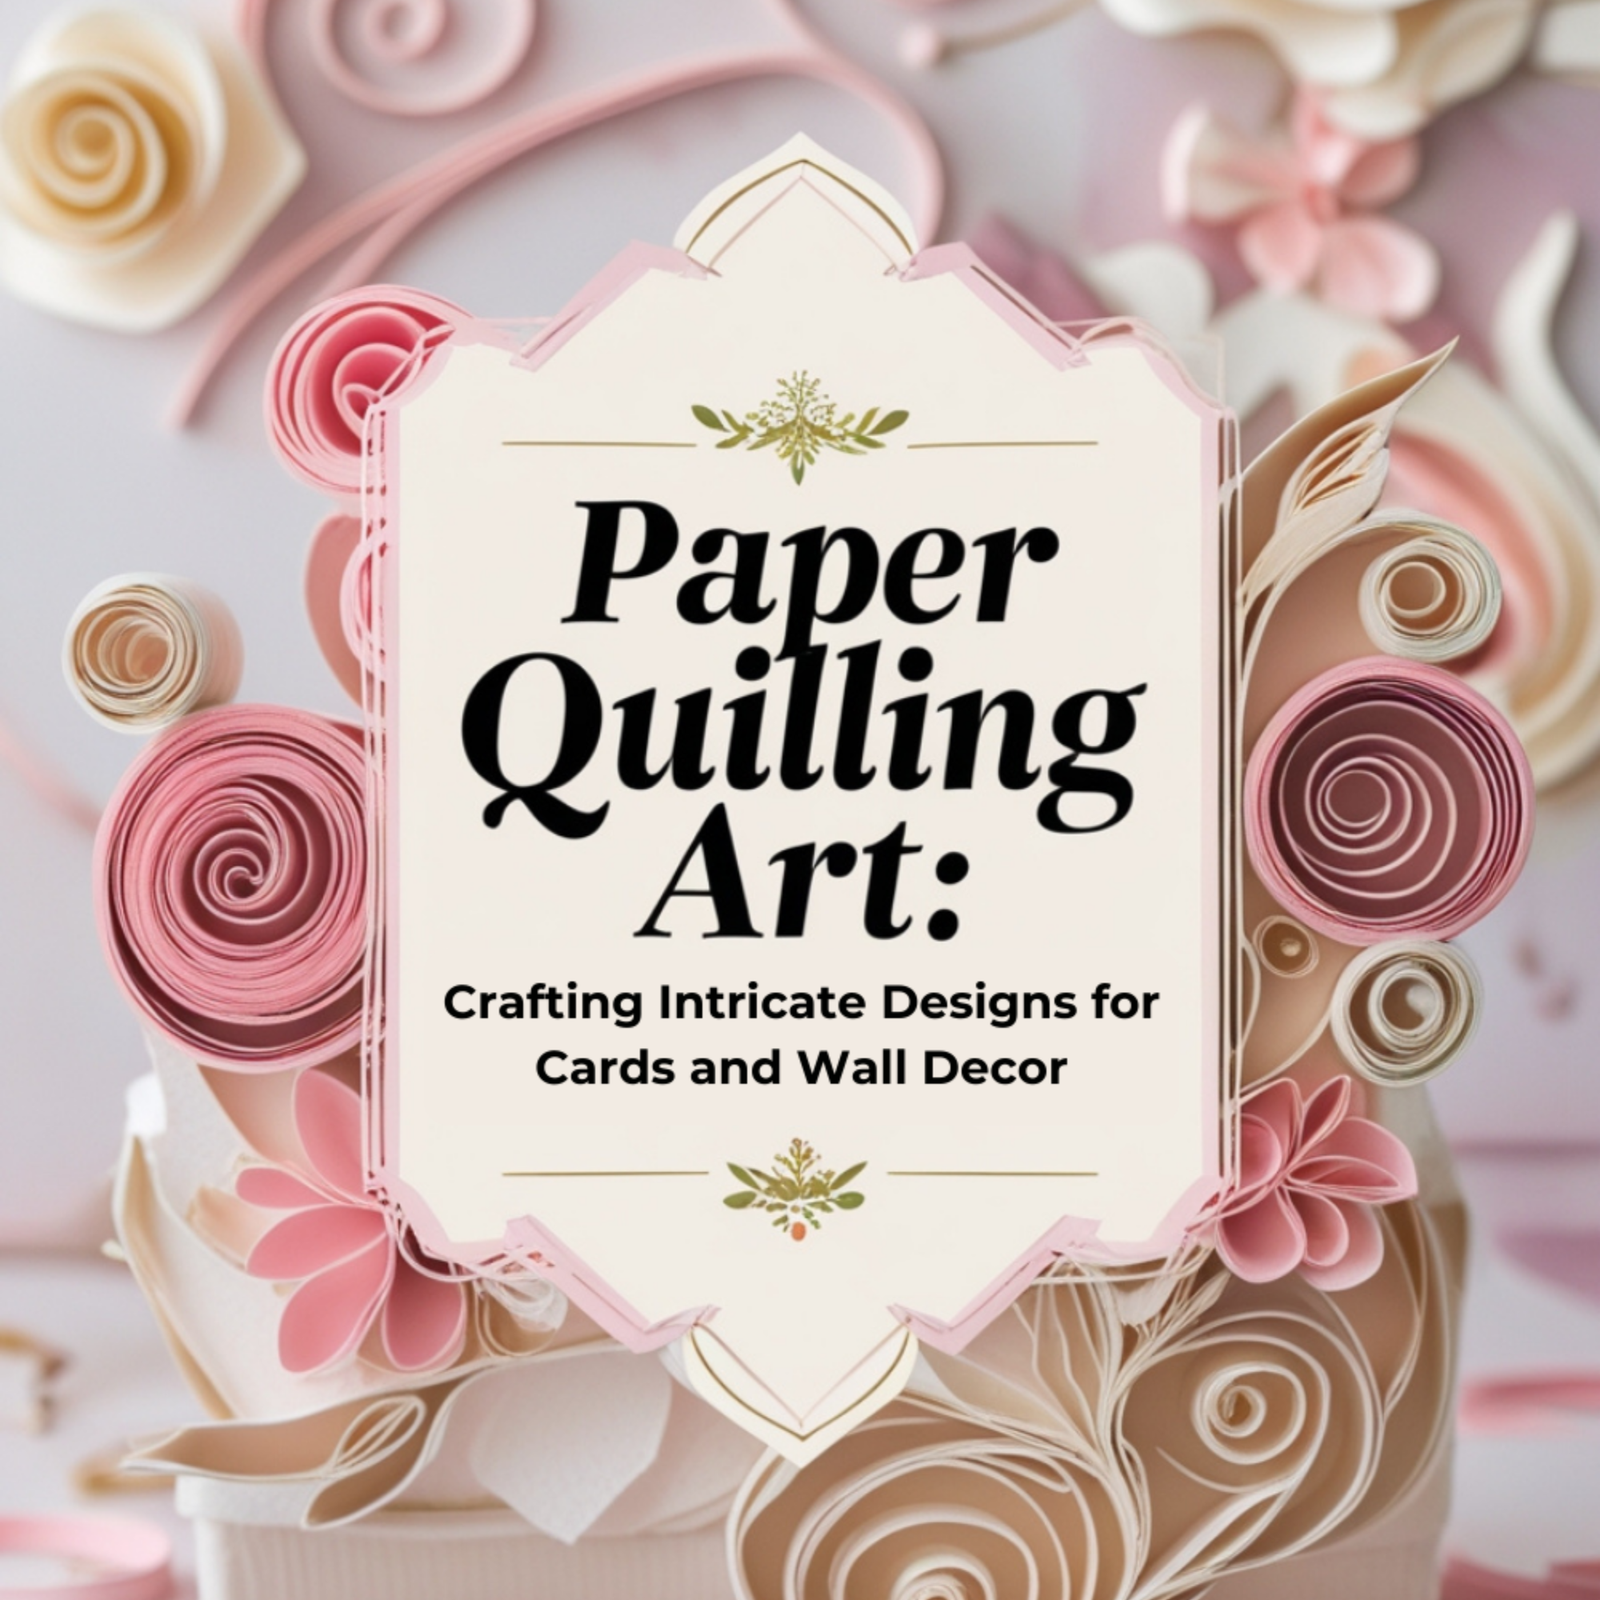
Paper quilling is the art of rolling, shaping, and arranging thin strips of paper to create delicate, detailed designs.
Whether you’re crafting handmade greeting cards or adding a whimsical touch to your wall decor, quilling is a relaxing and rewarding way to express your creativity.
If you’ve ever wanted to try your hand at this intricate yet beginner-friendly craft, you’re in the right place!
Let’s dive into the world of paper quilling and explore how you can create stunning designs with just a few basic tools.
What You’ll Need
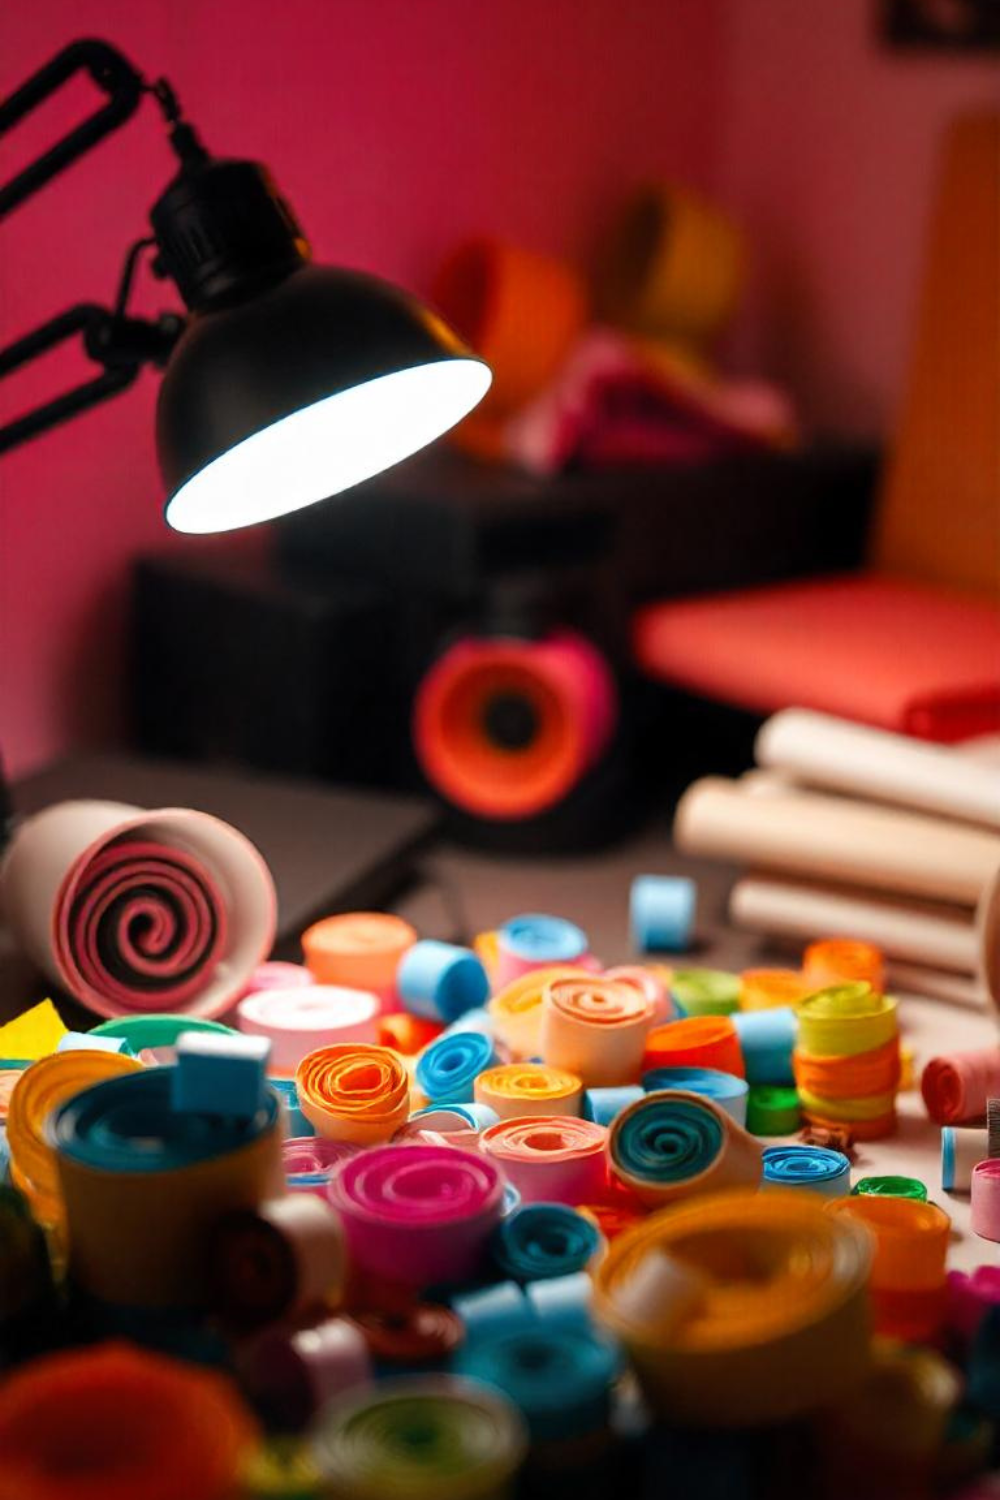
Before we start shaping paper into magic, gather these essentials:
- Quilling paper strips – Available in a variety of colors and widths.
- Quilling tool – A slotted or needle tool to help roll the paper.
- Glue – A fine-tip glue bottle or a toothpick for precise application.
- Tweezers – To handle delicate shapes without crushing them.
- Scissors – For trimming paper strips as needed.
- Quilling board (optional) – Helps in making uniform shapes.
- A sturdy base (cardstock or canvas) – To attach your quilled designs.
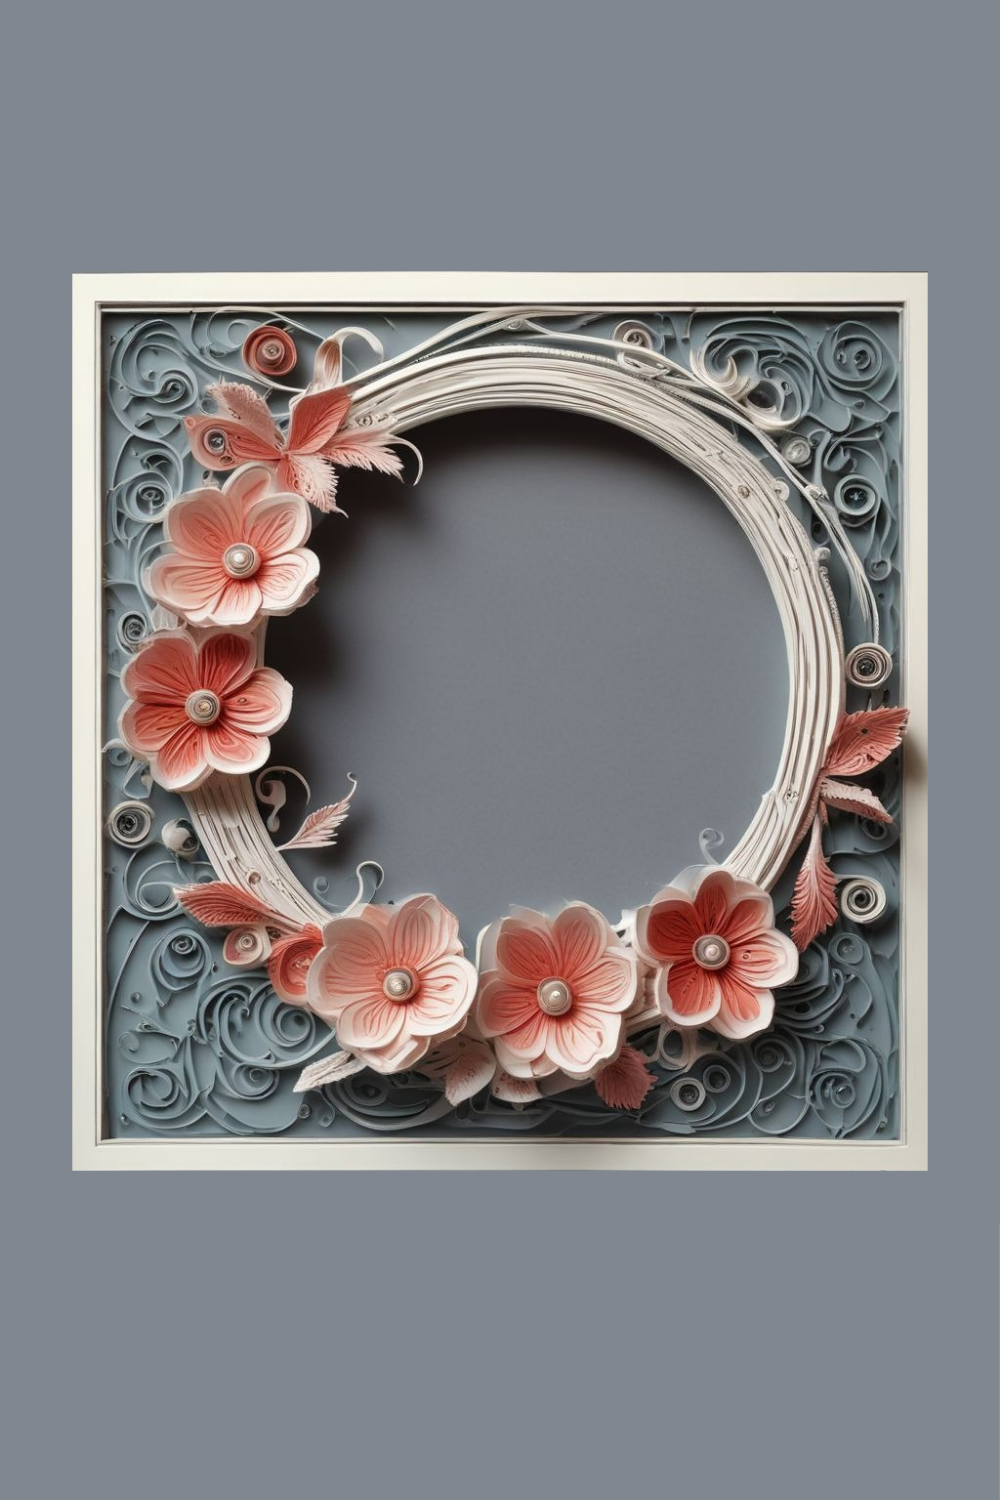
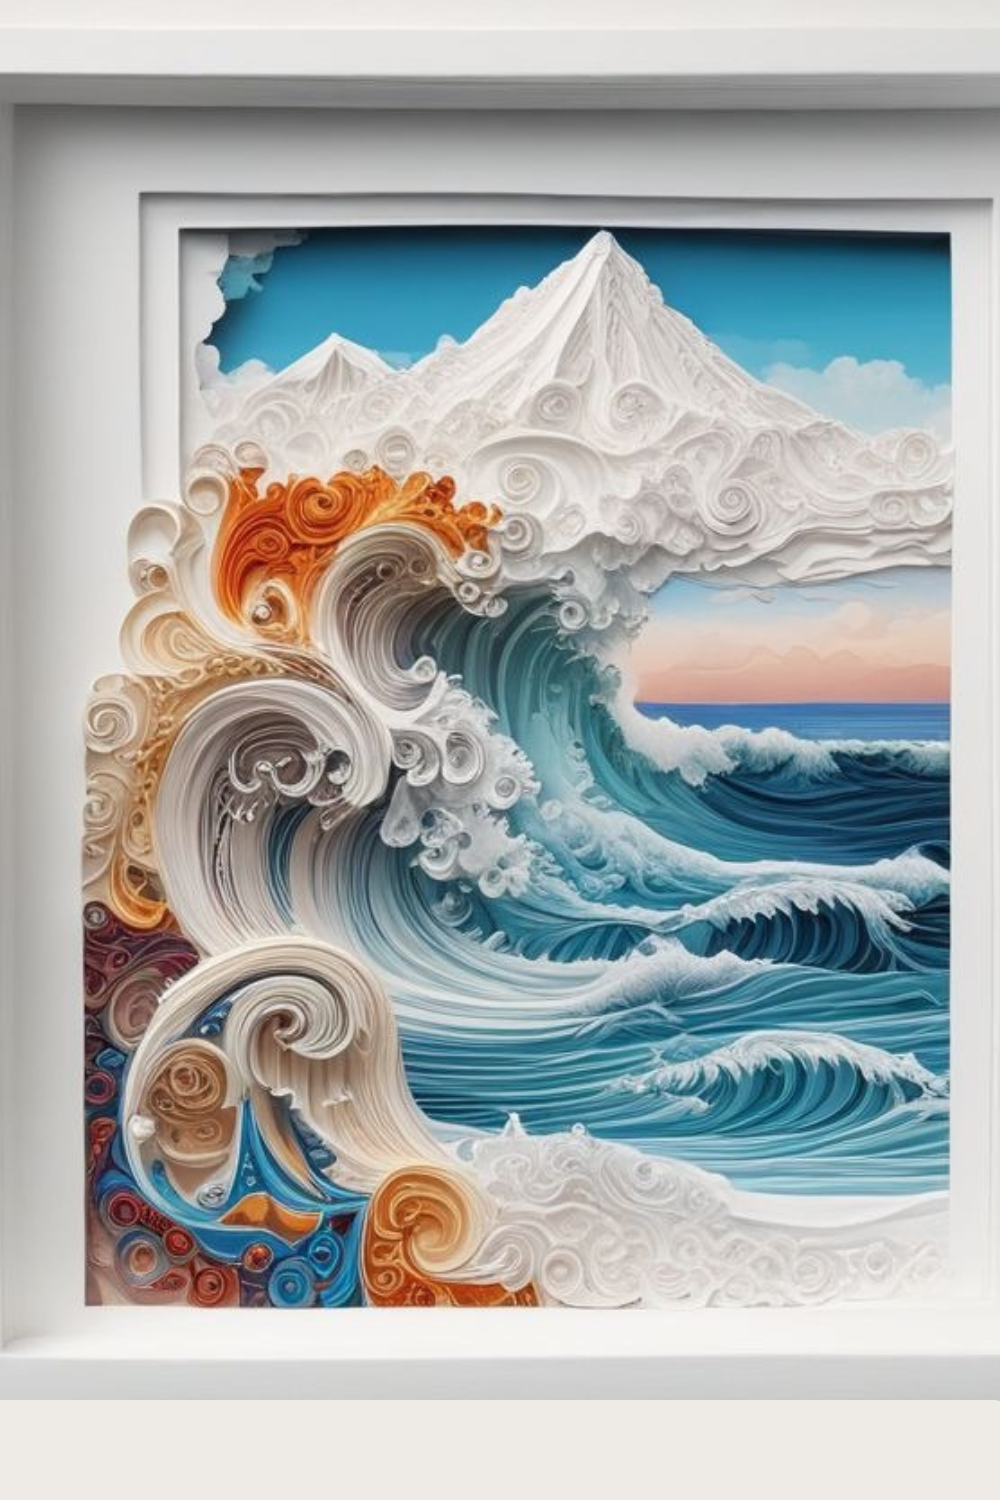
Imagine opening a handmade card, the front adorned with delicate swirls of paper forming a blooming floral wreath. Or picture a minimalist wall frame featuring intricate feather-like patterns made entirely of paper loops and curls. Paper quilling adds a touch of elegance and craftsmanship to everyday items, making them feel extra special and unique.
How to Recreate It: Step-by-Step Guide
Start with Basic Shapes
Before creating elaborate designs, practice making basic quilling shapes like:
- Tight Coils – Roll the paper tightly and glue the end.
- Loose Coils – Roll and let the paper expand slightly before gluing.
- Teardrops – Pinch one side of a loose coil to form a teardrop shape.
- Marquise (Eye Shape) – Pinch both sides of a loose coil.
- Scrolls – Roll just the ends of a strip for an elegant spiral effect.
Assemble Your Design
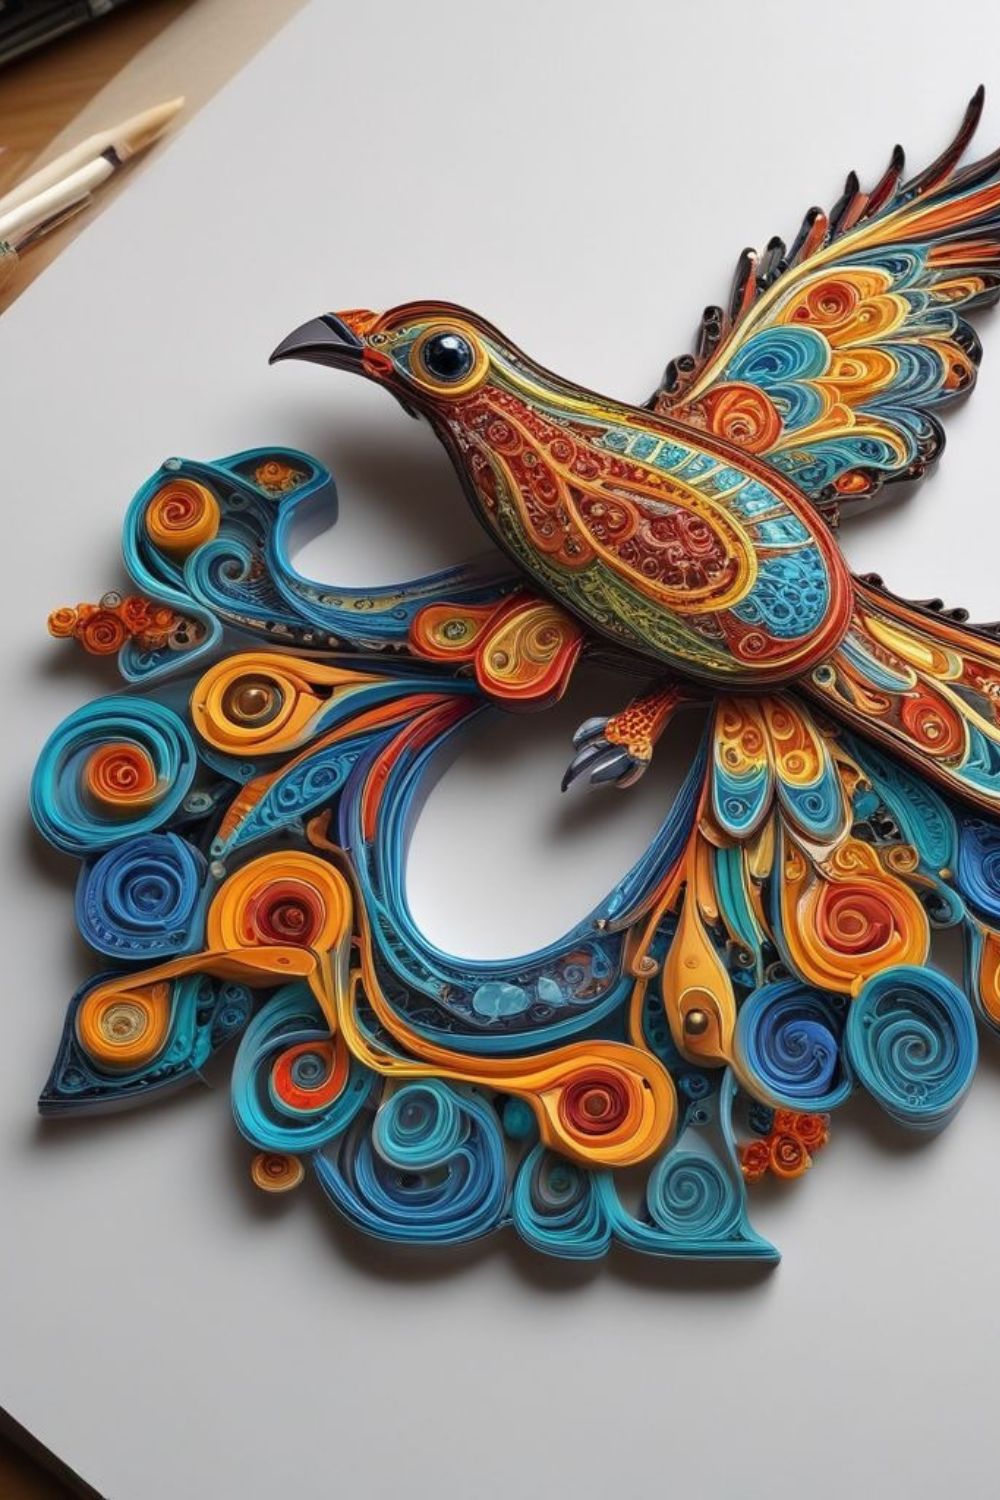
Once you’ve mastered the basics, start arranging your shapes to form a pattern. Popular design ideas include:
- Flowers and leaves for greeting cards
- Abstract swirls for modern wall art
- Heart motifs for love-themed decor

Secure with Glue
Using a toothpick or fine-tip bottle, apply a small amount of glue to the edges of your shapes and press them onto your cardstock or frame. Be patient—quilling requires precision and drying time!
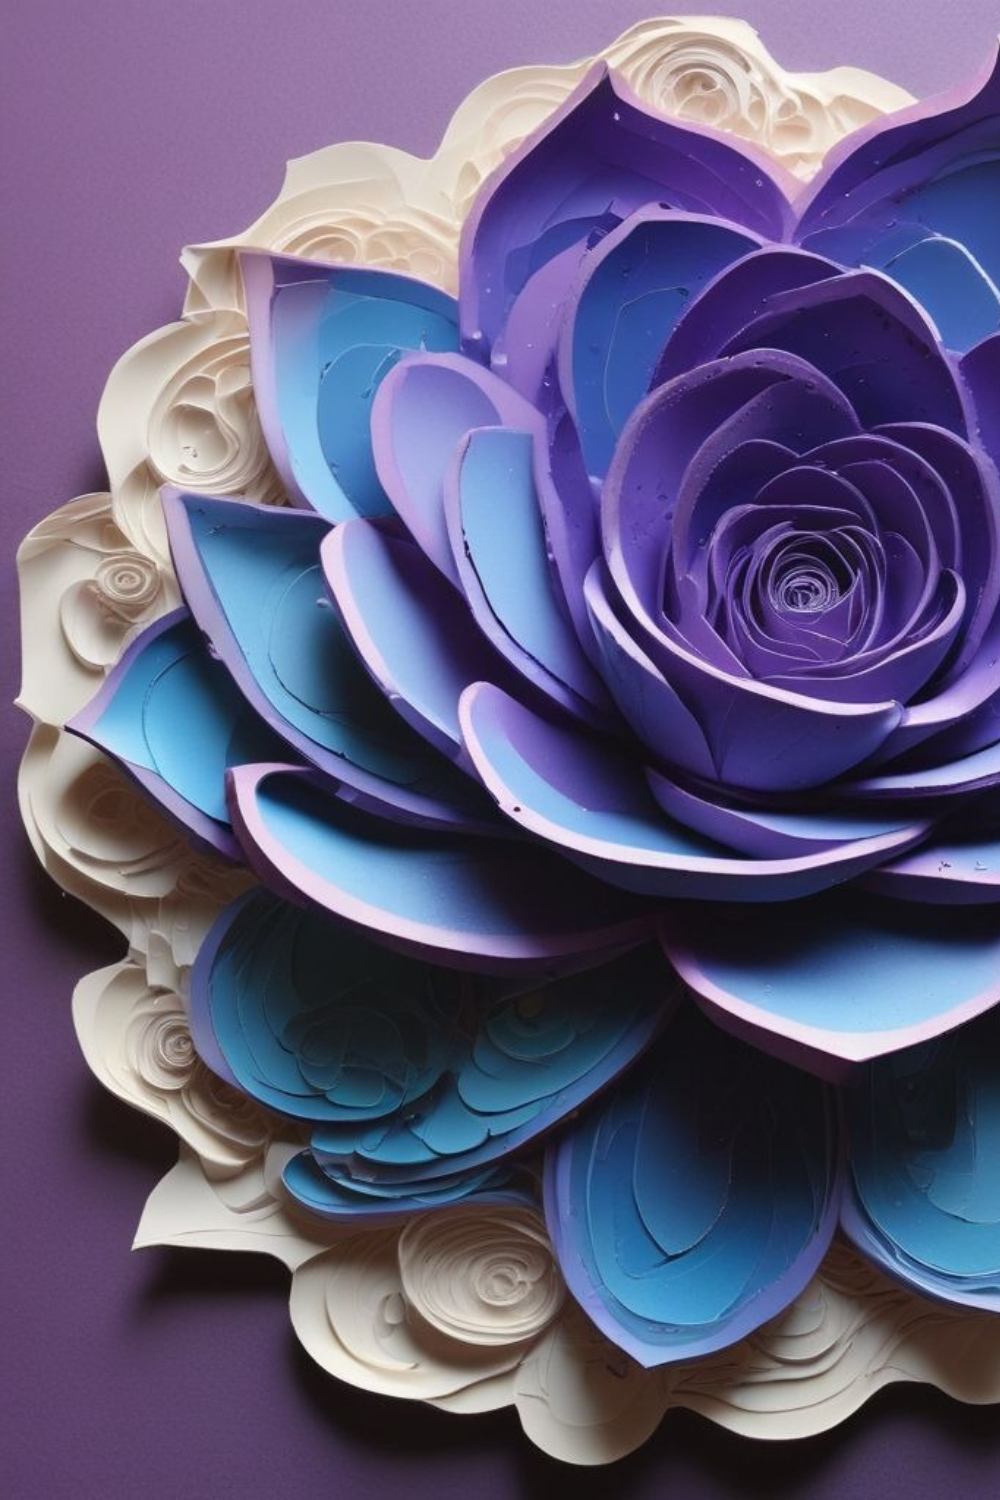
Add Depth and Texture
For a more dimensional look, layer different shapes or use varying shades of the same color to create a gradient effect.
Frame or Use Your Art
Once your quilling masterpiece is dry, decide how you want to display it! Frame your work for wall decor, use it as embellishment on handmade cards, or even turn it into unique gift tags.
Bonus Tips for Stunning Quilling Designs
- Use metallic or ombré quilling paper for extra visual appeal.
- Outline your designs with black or gold strips to make them stand out.
- Experiment with different paper widths to create varied textures.
- Try mixed-media quilling by incorporating watercolor backgrounds or calligraphy elements.
Paper quilling is a mesmerizing craft that turns simple strips of paper into intricate works of art.
Happy crafting!
For More Crafts Inspirations :
🔷 12 Adorable Paper Quilling Animal Designs for Crafters
🔷 12 Easy Pressed Flower Wall Art Ideas for a Cottagecore Aesthetic
🔷 How to Crochet Plant Hangers – Easy DIY Garden Decor