Ever wish your plant babies had the perfect cozy home?
A crochet plant hanger is the perfect way to elevate your plants (literally!) while adding charm to your space.
Whether you have a tiny apartment or a sprawling garden, these DIY hangers bring boho, cottagecore, or modern farmhouse vibes in an instant.
They’re beginner-friendly and super customizable.
Let’s dive in!
What You Might Need:
Before we get started, here’s what you’ll need:
- Cotton yarn (or any sturdy yarn you love!) – 5mm-8mm works best for durability
- A crochet hook (size depends on your yarn) – Usually 5mm-6.5mm
- Scissors
- Metal or wooden ring (for hanging, optional)
- Measuring tape
- Tapestry needle (to weave in ends)
- A potted plant that needs a stylish home!
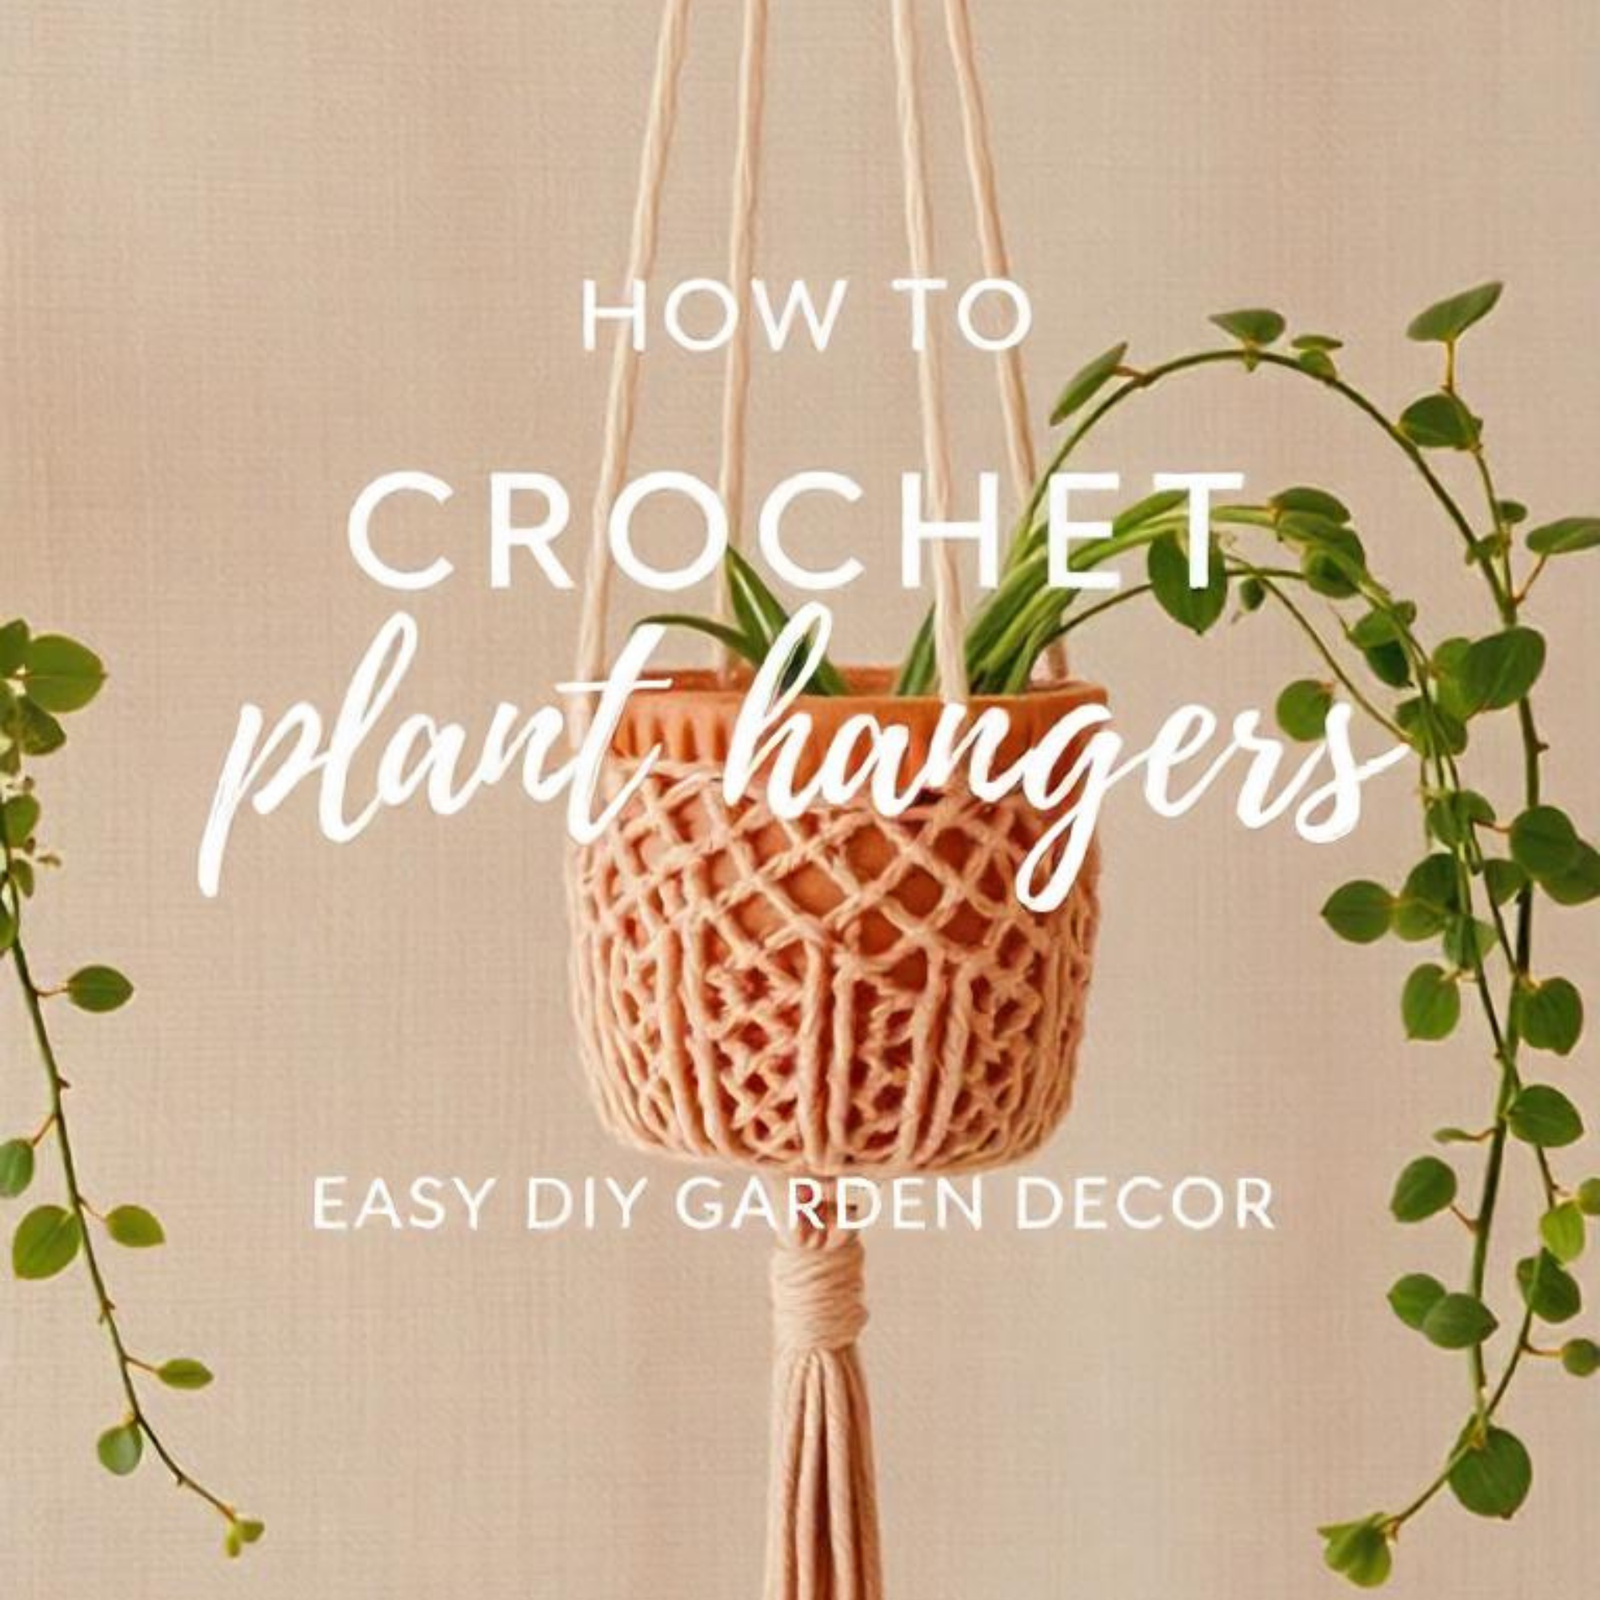
Imagine your soft, woven cozy crochet plant hanger gently swaying near a sunny window. Your favorite trailing plant cascades gracefully, filling your space with greenery. The textured stitches create a handmade charm, making your plant look even more special. Whether hanging in the kitchen, living room, or patio, this dreamy DIY decor adds a personal, artsy touch to your home. 🌿✨

How to Crochet a Simple Plant Hanger
Step 1: Start with a Strong Base
Tie a slip knot and crochet a tight circle for the base. This will keep your pot snug and secure! You can do a magic ring or crochet a small round (about 6 stitches) and increase it in the next few rounds. Aim for a base slightly smaller than your pot’s bottom—the stretch will help it fit perfectly.
Step 2: Build the Basket Shape
Once your base is ready, crochet in the round without increasing to start forming a bowl-like shape. Keep going until your planter’s sides are halfway up the pot. Feel free to play with textured stitches like single crochet, half-double crochet, or even a cute puff stitch for extra flair!
Step 3: Create the Hanging Straps
When you’re happy with the height, it’s time to make the straps!
- Option 1: Chain about 20-30 stitches (or more for a longer hanger) and attach it back to the opposite side.
- Option 2: Make four evenly spaced straps by chaining 20 stitches each and slip-stitching them back to the sides. This gives an even, macrame-style hold.
Step 4: Attach a Hanging Ring
If you want extra support, loop your crochet straps through a wooden or metal ring before securing them together at the top. This helps distribute weight and keeps the hanger balanced.
Step 5: Finishing Touches
Weave in any loose ends using a tapestry needle, give your hanger a gentle stretch, and pop your plant inside! Hang it in your favorite spot and admire your handiwork.
Customizing Your Crochet Plant Hanger
Now for the fun part—personalizing it! Here are some ways to make your plant hanger truly unique:
- Add tassels or fringe for a boho touch
- Use colored yarn to match your decor (neutral tones = timeless, bright colors = playful!)
- Incorporate beads or wooden accents into the straps
- Experiment with different stitches like shell stitch or granny squares for texture
- Make mini versions for smaller succulents or air plants
More DIY Plant Decor to Try!
Once you’ve mastered crochet plant hangers, why stop there? Here are some other plant-loving crochet projects you’ll adore:
- Crochet plant cozies – perfect for dressing up plain pots
- Hanging crochet baskets – for organizing garden tools or holding extra plant cuttings
- Crochet wall planters – a modern twist on traditional hanging plants
Crochet, Decorate, and Relax!
Making a crochet plant hanger is not just about the finished product—it’s about the relaxing, creative process of making something beautiful with your own hands. Plus, seeing your plants thrive in a handmade holder is just the best feeling.
Happy crocheting!
📌 Save this for later & share with your fellow plant lovers!
Looking for more easy DIY decor ideas? Check out my other posts on home & craft inspiration!