Spring is officially here! And if you’ve been craving a little refresh in your space—something light, airy, and totally Pinterest-worthy—then today’s DIY is for you.
We’re making two stunning soft spring aesthetic wall art pieces:
🌿 Pressed flower frame – A vintage-inspired floral masterpiece
🎨 Watercolor blooms – A soft, dreamy painting with pastel florals
Both are super beginner-friendly, budget-friendly, and gorgeous! Whether you’re going for a feminine, cozy, cottagecore look or a clean, minimal aesthetic, these DIY wall art pieces will make your space feel like a soft, dreamy spring morning all year round.
Let’s dive in!
What You Might Need
Before we start, here’s a quick checklist! These supplies are affordable and easy to find, and you might already have some lying around.
For Pressed Flower Art:
✅ Pressed flowers (DIY them or buy pre-pressed ones!)
✅ Thick cardstock or watercolor paper
✅ Mod Podge or clear glue
✅ A paintbrush
✅ A simple wooden or gold frame for a vintage look
For Watercolor Art:
✅ Watercolor paints (soft pastels work best)
✅ Watercolor paper
✅ Paintbrushes (a mix of small and medium sizes)
✅ A cup of water
✅ Paper towels for blending
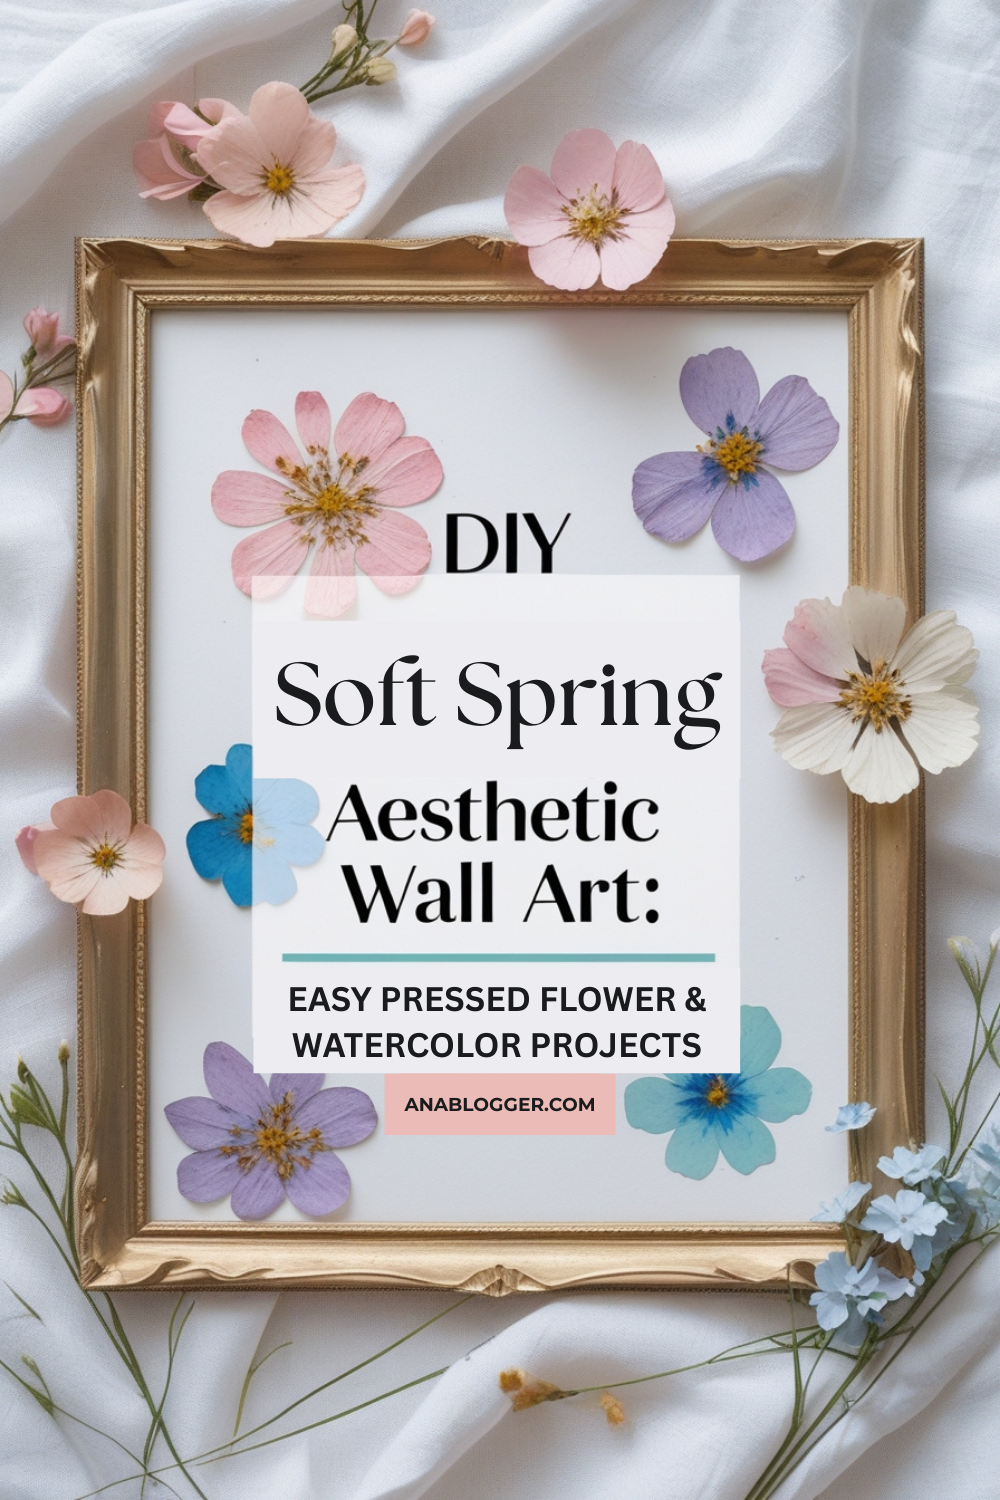
Pressed Flower Frame: A Vintage Spring Dream
You can create a delicate pressed flower arrangement framed in soft gold, catching the sunlight from your window. The colors of baby’s breath, daisies, and lavender add a whimsical, romantic vibe—like something straight out of a springtime fairytale.

How to Recreate It:
1️⃣ Pick Your Flowers – The key to this DIY is using small, dainty flowers like lavender, daisies, forget-me-nots, or baby’s breath. You can press your own flowers (it takes about a week) or buy pre-pressed ones online.
2️⃣ Arrange Your Design – Before gluing, lay out your flowers on the paper. You can go for a scattered wildflower effect, a structured floral wreath, or even a heart shape!
3️⃣ Glue Them Down – Using a thin layer of Mod Podge or clear glue, carefully attach each flower to the thick cardstock. Use tweezers for precise placement (because some flowers are delicate little queens).
4️⃣ Frame It Up – Choose a vintage-style frame—gold for an elegant look, distressed white for a cottagecore aesthetic, or natural wood for a boho-chic feel.
5️⃣ Style & Enjoy – Hang your floral frame above your desk, on a gallery wall, or lean it on a shelf for a casual, artsy vibe.
✨ Bonus Tip: Layer pressed petals over a light watercolor background to create extra depth and dimension!
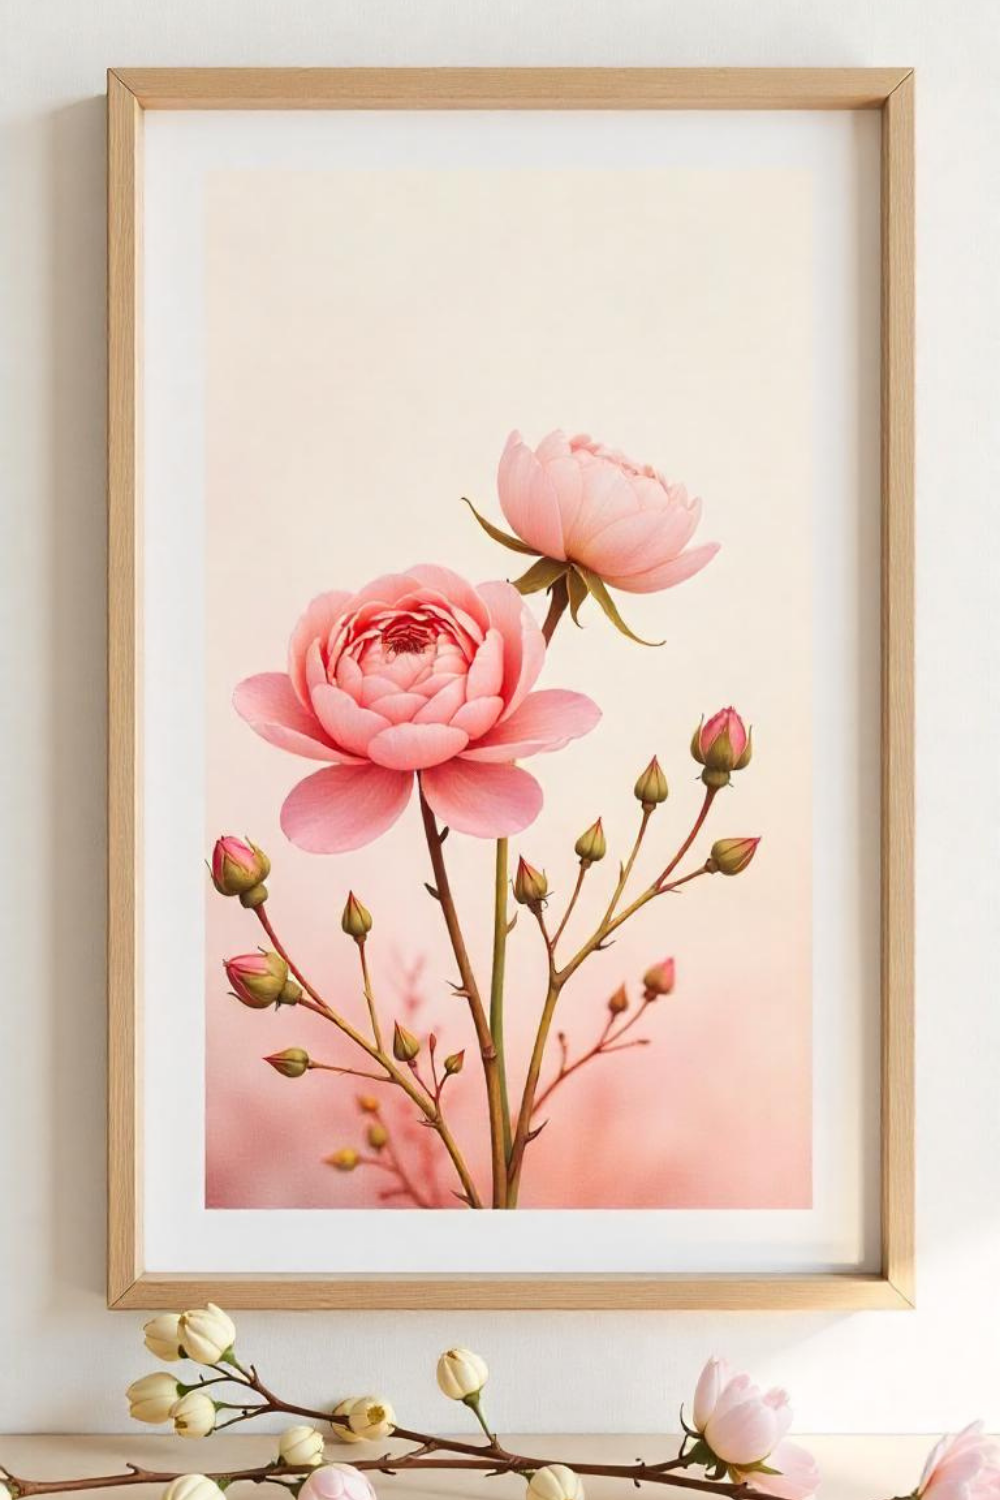
Soft Watercolor Blooms: A Whimsical Pastel Touch
Create a delicate watercolor print of soft, faded florals—roses, peonies, or wildflowers—framed in a simple wood or gold frame. Let the colors melt into each other like a soft spring sunset, bringing warmth and coziness to your space.
How to Recreate It:
1️⃣ Choose Your Color Palette – Think blush pinks, soft lilacs, buttery yellows, and dusty blues—aka, the dreamiest soft spring hues.
2️⃣ Sketch a Simple Outline – If you’re new to painting, lightly sketch the shapes of your flowers with a pencil first. You can use Pinterest inspo to get started!
3️⃣ Paint with a Light Hand – Watercolor is all about soft, flowing colors. Dip your brush in water first, then pick up a little color and let it naturally blend onto the paper.
4️⃣ Layer for Depth – Once the first layer is dry, go back and add subtle details (like darker floral centers, soft veins on petals, or tiny leaves). Keep it loose and flowy—imperfection is the beauty of watercolor!
5️⃣ Let It Dry & Frame It – Once your masterpiece is dry, frame it in a simple wooden frame for a minimal look or a gold frame for an elegant touch.
✨ Bonus Tip: Add gold accents with a gel pen for a soft, romantic shimmer!
Where to Display Your DIY Spring Wall Art
Now that you’ve created your one-of-a-kind pressed flower and watercolor art, here are some ideas on where to display them:
🌿 Above your bed for a serene, dreamy touch
🎀 In a cozy reading nook for an artsy, feminine vibe
☕ In your kitchen for a fresh, nature-inspired aesthetic
📖 On a gallery wall mixed with vintage prints and soft pastels
Your space is about to feel like an elegant spring morning all year long! 🌸✨
And there you have it—two super easy, aesthetic DIYs to bring the soft spring aesthetic into your home! Whether you love the delicate charm of pressed flowers or the whimsical beauty of watercolors, these projects are the perfect way to refresh your space for spring. 🌷
Happy crafting! 🎨💖
For More Pressed Flowers DIY Inspirations :
🔷Pressed Flowers 101: How to Make Gorgeous Floral Crafts at Home
🔷DIY Pressed Flower Phone Case: Aesthetic & Easy Tutorial
🔷12 Easy Pressed Flower Wall Art Ideas for a Cottagecore Aesthetic
🔷The Ultimate DIY Pressed Flower Gift Box: How to Make a Coordinated Set